
This post is closely related to my previous post – use LEGO MindStorms Smart Hub to design a dodge game. The difference is that in this project, I will use Python to implement the same functionality as I did in the previous post. If you are interested, you could open the two posts side by side and compare their code.
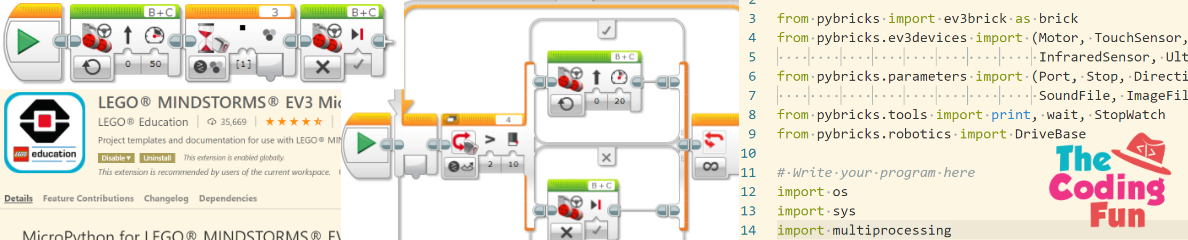
Let’s start with the basics. You could find all the Python related sample code and explanation by clicking the button on the right edge of the LEGO MindStorms App, and choose Python tab, as shown below.

Although some blockly language could be “transformed” to Python methods easily, some functions need to be adjusted to suit for the sequential running structure of Python. Now let’s dive into the code.
Reference Code

Line 1 to line 4 are the default head section of any Python file newly created by LEGO MindStorms App. I need to use random module to generate some randomized integer, therefore, I use “import random” at line 5.
Line 9 is also the default line included in any of the newly created Python file, because for most of Python projects created for LEGO MindStorms, we need to create a hub object first, and then we could access other objects through this hub object.
From line 13 to line 16, the program shows an image on the light matrix. After one second, the program turns all the lights off.

At line 18, “col_pos” variable stores the column value of the user controlled pixel. The light matrix consists of five-rows-by-five-columns pixels. Please pay attention that in LEGO blockly language, the row and column indexes range from 1 to 5, while in Python version, the index follows the Python’s convention, so both the column and row indexes range from 0 to 4.
Line 23 and 24 define the dropping pixel’s column and row value. It drops from the topmost row, so the initial value of drop_row is 0. Line 25 sets 100% light to user controlled pixel, which is located at the column 2, row 4.
Starting from line 27, the code structure is much different from that of LEGO blockly language. In LEGO blockly language, we could create parallel code segments, such as “when left button pressed”, “when right button pressed” to handle the left/right button pressing events respectively. As we could see in the previous post, the program has another parallel code segment which uses forever loop to handle the behaviour of the dropping pixel.
However, the code runs sequentially in Python. We could not create multiple parallel code segments. If you have written code with PyGame or PgGame Zero, you might know that usually for a game, the program wraps everything in a main loop.
Here, we also need to create a loop called “while game_over == False”, which includes all the tasks of the game. Within this loop, first, we check if the left button or right button is pressed. If left or right button is pressed, we need to switch off the pixel at the current position, change col_pos and then switch on the pixel at the new position. This functionality is implemented from line 29 to line 40.
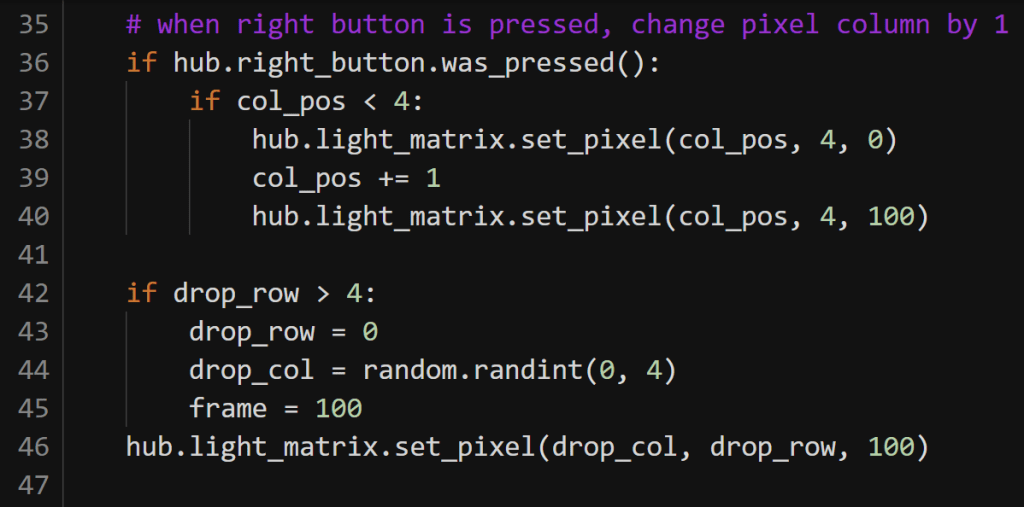
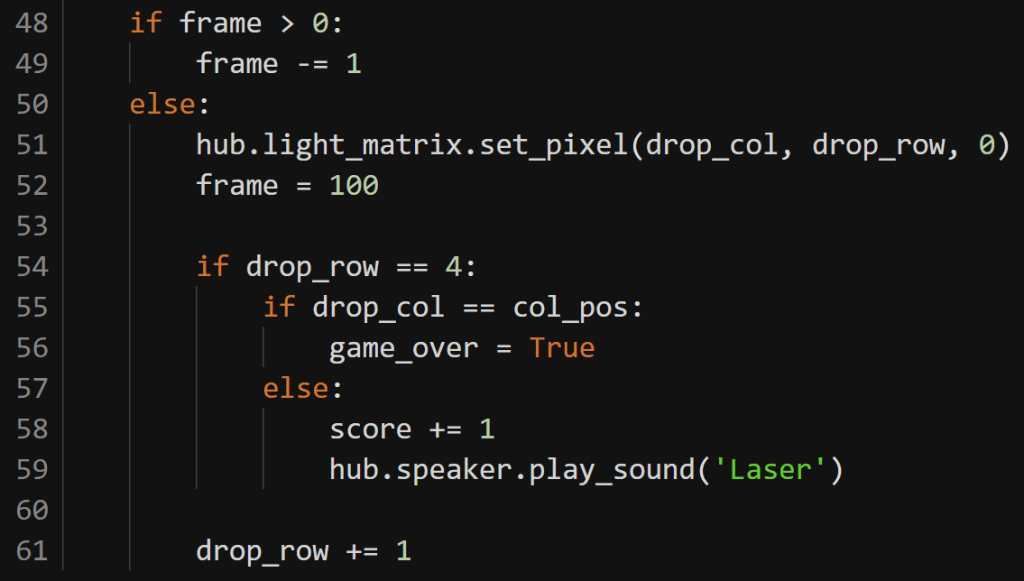
Line 42 to line 61 defines the behaviour of dropping pixel and judges if dropping pixel and user controlled pixel collide with each other. Again, the method is different from LEGO blockly language. In LEGO blockly language, we use “wait for 0.1 seconds” to slow down the dropping speed of the pixel. However, if we use “wait_for_seconds(0.1)” in Python, the waiting will postpone the response toward the left/right button because all the functions are wrapped in one loop.
We need to define a variable called “frame” and its initial value is 100 (the higher the value, the slower the pixel drops down). When its value is bigger than 0, frame decreases by 1 and nothing else is changed. When frame value decreases to 0, the dropping pixel at current position is turned off. Meanwhile, drop_row variable increases by 1, indicating that the dropping pixel is going to move to the next row. Using this method, we could control the dropping speed of the pixel without influencing the reponse time.
When drop_row is 4, it means the dropping pixel moves to the bottom row. The program then checks if the dropping pixel and user controlled pixel are located at the same column. If they are, set variable “game_over” to True, otherwise, change score by 1 and play a sound “laser”.
But how about the drop_row bigger than 4? We need to make the dropping pixel return to the uppermost row. Under this condition, the program sets a new random drop_col and resets frame to 100, just like a new pixel dropping from the top row. This part of code is defined from line 42 to 45.
When the program sets “game_over” to True at line 56, the loop ends in the next iteration. The program runs forward to line 64. Line 64 defines a pattern “X” on the light matrix screen. As the specification indicates, the long string represents all the pixels on the screen. Each row is separated by colon. The five columns at each row is shown as numbers from 0-9, representing the light intensity.

At line 67, the program writes the score on the screen and then finishes all the code.

That is all the code of dodge game. There is not much code included for this project, so try to type them into the code editor and check if you could make the LEGO MindStorms run properly. Enjoy the coding and have fun!
Note: All the analysis articles are copyright products of http://www.thecodingfun.com. Anyone re-posting them should credit author and original source. Anyone using them for commercial purposes or translating them into other languages should notify TheCodingFun and get confirmation first. All Rights Reserved.

Pingback: Create a Dodge Game on Micro:bit by Using Python – The Coding Fun