
Recently, we have been exploring Micro:bit and its huge eco-system to see if we could bring some high-quality lessons to our existing workshop portfolio. Honestly, I am amazed by the Micro:bit eco-system. It is compatible to large amount of hardware, especially the sensors. Soon, I will update a post about the comparison between Micro:bit and LEGO. Before that, let me introduce a dodge game which I “transformed” from Micro:bit sample project.
The final effect is shown below. Use the left or right button on your LEGO MindStorms Inventor or LEGO Spike Prime to control the pixel at the bottom row of the screen. If the dropping pixel collides with your pixel, game is over. Otherwise, every time your pixel dodges the dropping one, you get a score.
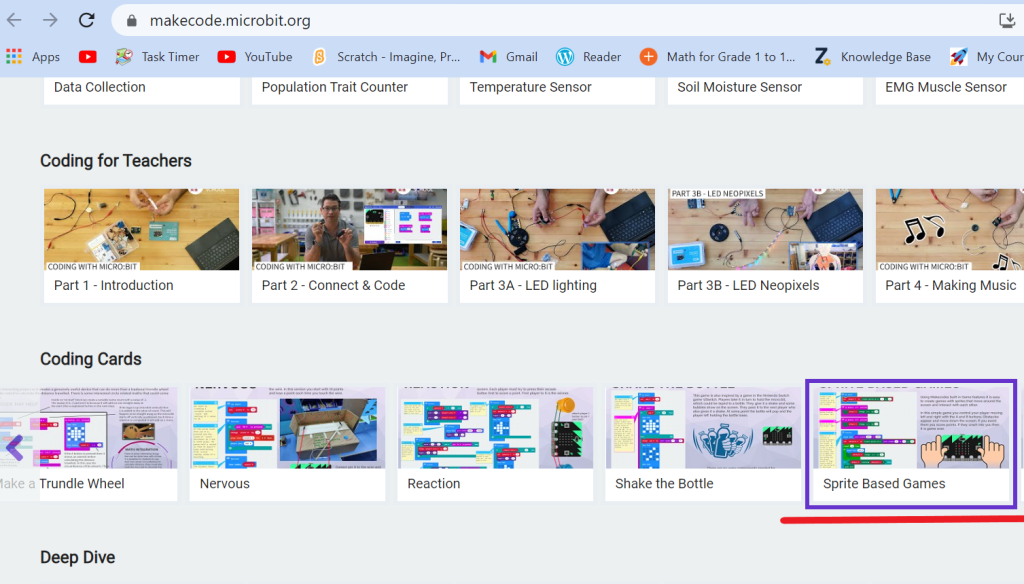
If you have interest in knowing the initial Micro:bit project specification, here is the website:
https://makecode.microbit.org/. It is located in the Coding Cards section.
Issues in Transformation
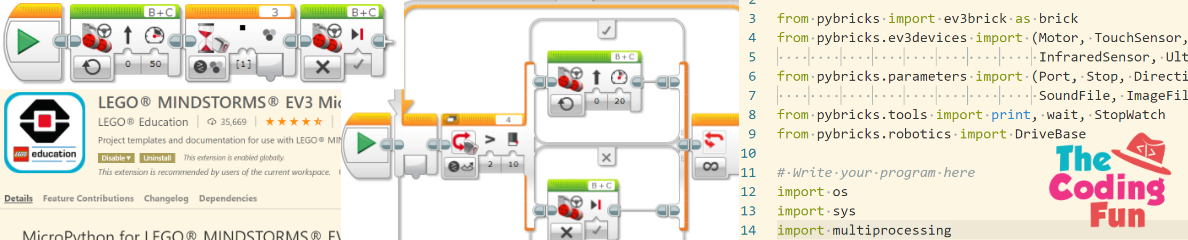
Although both Micro:bit and LEGO use blockly language in this project, we could not copy the code from Micro:bit directly. In Micro:bit, each pixel on the screen is treated as an independent sprite (just like the sprite in Scratch programming), and each sprite could be set or get value independently.
However, in LEGO MindStorms, the blockly language could only set an individual pixel to on, off. The program could not get the detailed on/off status of each pixel on the screen. Therefore, we could not use the method in Micro:bit to check “if player touching obstacle”. Instead, we need to use self-defined variables to store the position of the dropping pixel, as well as the position of user controlled pixel.
The following is the code. Just for your reference.
Reference Code
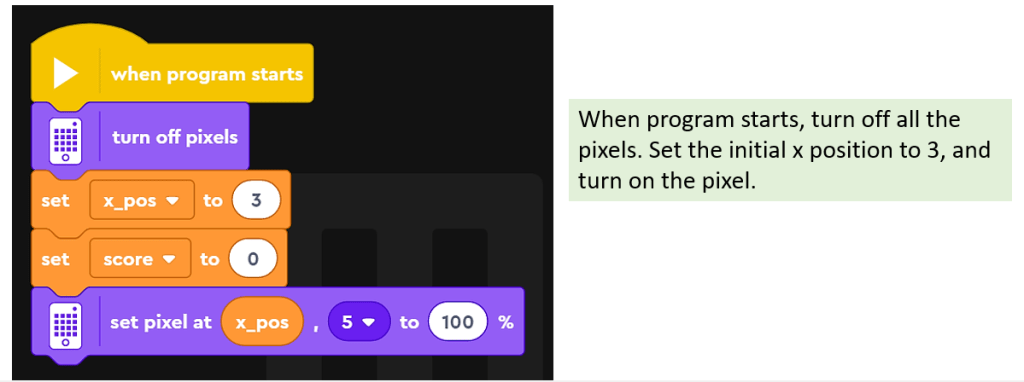
In the above code segment, when program starts, turn off all the pixels on the screen. “x_pos” variable is used to set the initial x position of the user controlled pixel. Its initial value is set to 3, representing the third column. Initial score is 0, which is apparent. At the last line of the code segment, the program sets the user defined pixel to light 100%. Please note that in the block “set pixel at __, __ to 100%”, the first blank refers to the x position, or represents the column 1 to 5 (the leftest column is 1), while the second blank refers to the y position, or represents the rows 1-5 (the uppermost row is 1).
It is a bit confusing about which position represents column and which represents row. Just try and trial and you will soon get used to its definition.
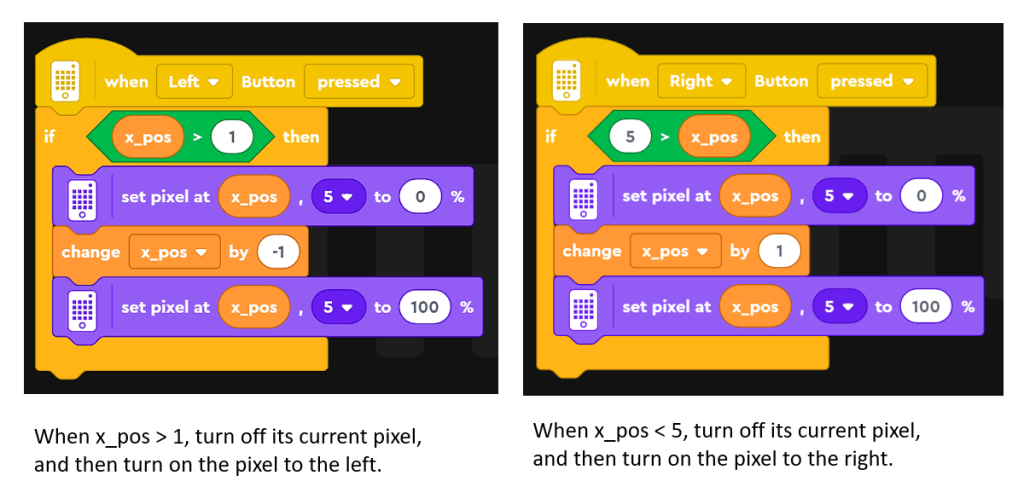
In the above two segments, the program defines how to move the user controlled pixel. As I mentioned above, unlike Micro:bit, LEGO MindStorms could not get the on/off status of each pixel. Therefore, we use “x_pos” variable to store the latest column position of the pixel. Since the user controlled pixel could not move up or down, so its row value always keeps as 5. the valid value of x_pos is 1 to 5, so when pressing left button and x_pos > 1, it is still valid to decrease it by 1. The program will turn off the pixel in the old position first, change x_pos by -1, and then turn on the pixel in the new position.
The similar rule applies when pressing right button and x_pos < 5.

The above code segment is simple. When receiving the message “game over”, the program stops all the other stacks, so the dropping pixel will stop moving and user controlled pixel will stop displaying. The screen will display a pattern “X” and then show the final score.

The above a bit long code segment is the core of the whole program. Within a forever loop, the program sets a random value between 1 to 5 to variable “dropping_x”. This value represents the x position of the dropping pixel.
In the following “repeat 5” loop, the dropping pixel moves down on the screen. Please note once the dropping_x is set, it will not change within this loop. What changes is the dropping pixel’s y position, or row value. We use variable “k” to represent its row value. It increases by 1 in each iteration, so the dropping pixel moves down on the screen.
When k is equal to 5, the program checks if the dropping pixel’s position overlaps with user controlled pixel (dropping_x = x_pos). If the two pixels have the same x position, they collide and game is over. Otherwise, user gets one score and game enters new round of iteration.
That is all the code for the dodge game of the LEGO MindStorms version. It is a simple game compared to those Scratch or Python game. Why don’t just try it on your LEGO MindStorms or LEGO Spike Prime? Enjoy the coding and have fun!
Note: All the analysis articles are copyright products of http://www.thecodingfun.com. Anyone re-posting them should credit author and original source. Anyone using them for commercial purposes or translating them into other languages should notify TheCodingFun and get confirmation first. All Rights Reserved.

Pingback: Use LEGO MindStorms Smart Hub to Design a Dodge Game – This Time Using Python – The Coding Fun