
No matter which LEGO robotics model you are playing with – LEGO WeDo 2.0, LEGO EV3, LEGO Spike Prime or LEGO MindStorms Inventor, one of the most exciting tasks could be to create your own model and make the model move with the control of LEGO App or other software.
However, it is often easier said than done when we face a big pile of components and blocks and then pick up the required ones. In this post, I would like to share some common steps to design your own LEGO robotics model.
a. Think out an idea
The first step to design own model is always starting from an idea. It could be anything from vehicles, buildings, airplanes, machines, animals to plants, etc. Since we are building robotics and those LEGO robotics sets all contain motors and sensors, we need to ensure our models have at least one type of movement. Otherwise, what is the difference between LEGO robotics and other static LEGO models?
For example, if you are building a house, think about which parts of the house could be controlled by the motors. It could be its door or windows which could be opened or closed automatically when your hands approach it. If you are planning to make an animal model, it might be able to walk, run, stand up or turn. If you are planning to build a plant model, it might be able to grow taller or close its leaves when you touch the sensor. You could see that even for those models which are typically static, such as building or plants, you could still figure out several areas to make them move, that is the core of the robotics model.
b. Implement the motion Part
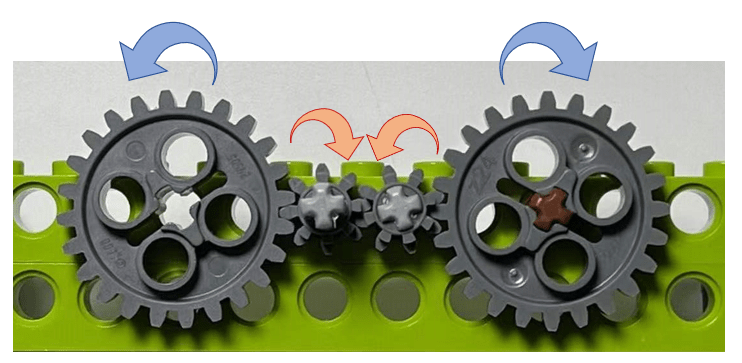
For many students, when they decide to make the model, what they usually do is to start building model immediately. That is natural. However, as robotics models, the first and foremost step is to ensure the motion parts could work properly. Think about which motion transmission structure could be used to make that parts move? Are you planning to use gear train, rack, bevel gear, or belt drive? How many motors are used to control its movement? Take an example of LEGO WeDo 2.0 model – Butterfly. The model needs to make the butterfly flip its wings up and down. If we plan to make two gears spin at same speed but in the opposite direction, our structure might look similar to the below diagram.
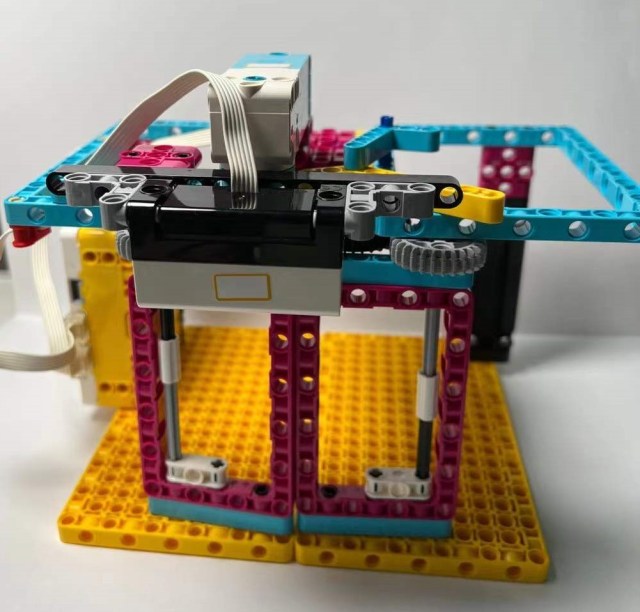
c. Fix the structure to make it sturdy
This section includes adding bushes or stoppers to fix the position of the gears and beams, connecting the motors with beams to ensure the structure run steadily. Although it looks unimportant, this step decides if your model is really workable. If the structure is unstable, it will become loose and finally collasped. Usually, in this step, you feel like you added many more blocks with the only purpose of enhancing the structure. You could see those supporting structure in many successful models.
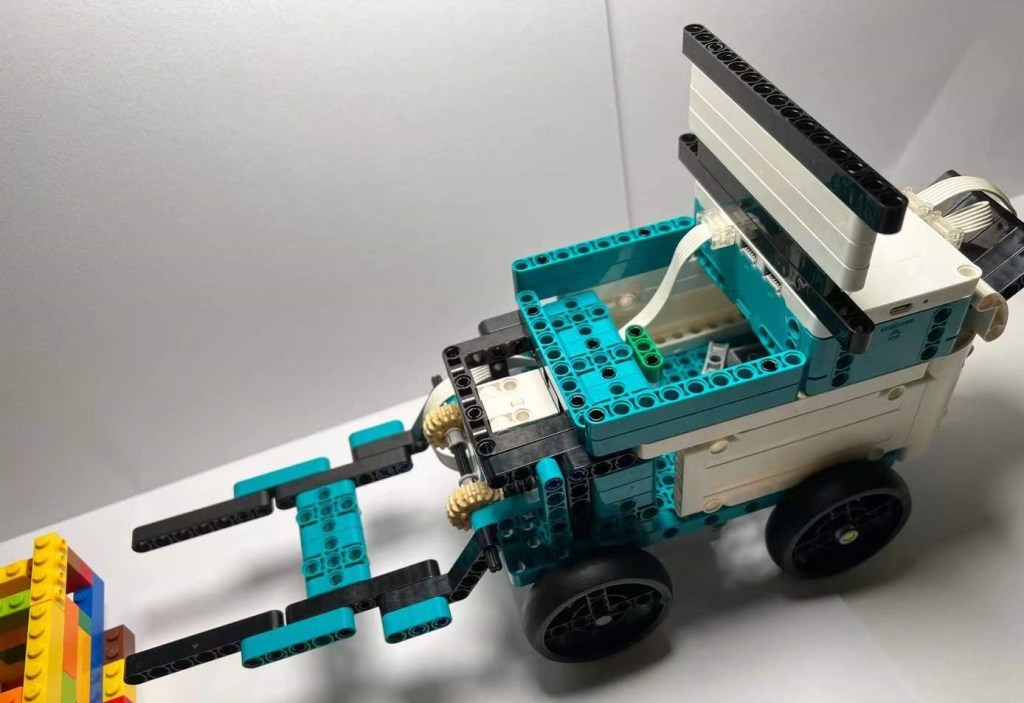
For example, take a look at the following attachment design (right diagram). Its key parts are two pairs of gears on the each side of the motor. However, in order to make the attachment run steadily, we add several beams and frames on both sides. Please note that when the structure becomes more solid, it might become much bigger or complicated. Therefore, we should design the supporting structure wisely to make the model neat and nimble.


d. Connect to Your Computer and Run Motor
Connect your LEGO model to the App and try to make the motor run. You do not need to write complete code segments. A few code snippet could do its work well. This step ensures that your motion parts run properly, without getting stuck, overloading, or having inappropriate meshing issues.
We put this step before designing the appearance, because if the motion parts have problem, you could adjust earlier or even have to redesign the structure right here. You definitely do not want to dismantle your whole model at the very last step.
e. Design the Appearance and Decorate
If you reach this step, congratulations! Your model is almost 99% workable. What you need to do is to decorate it with those blocks in the LEGO robotics sets, making the model look like a real object in life. This step is to test your imagination and visual design capabilities.

The above summarizes the common steps of designing your own model. It is a totally different experience when you design your own model compared to build a model from a step-by-step specification. It contains lots of twists and turns, but what you learn from this process is much more than the final model.
Note: All the analysis articles are copyright products of http://www.thecodingfun.com. Anyone re-posting them should credit author and original source. Anyone using them for commercial purposes or translating them into other languages should notify TheCodingFun and get confirmation first. All Rights Reserved.
