
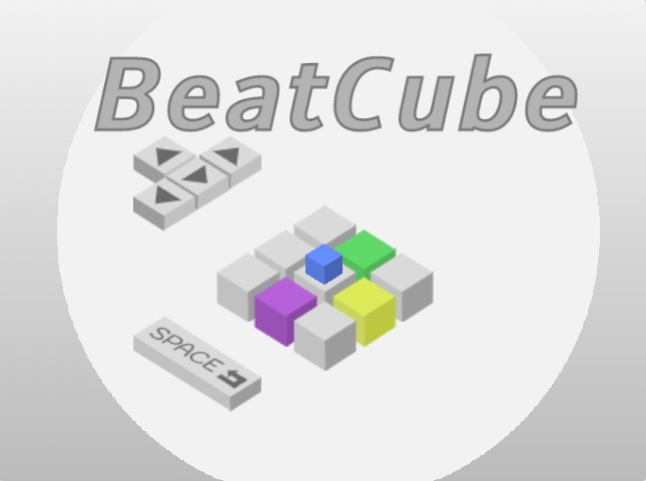
In the previous post, I explained some auxiliary sprites of BeatCube! remix project. Now I will concentrate on introducing the most important sprite – Land sprite. Frankly, this is the most heavily changed sprite in this project and it took me almost half day to accomplish all the changes and made everything run smoothly.
What changes do I make? They mainly focus on the following aspects:
- Remove the unnecessary judgement (e.g. if CloneID = None, If IsPlaying? = Y, etc.) at the beginning of many code segments.
- Rename many blocks to make the names speak for themselves.
- Simplify many block definitions by removing unnecessary input parameters or by redesigning the internal structure.
- Merge some parallel code segments of “when I receive Play” and “when I receive Menu”. It is confusing to have too many parallel code segments.
In the following sections, I will introduce them one by one.
Land Sprite
“when I receive Menu” Code Segment
This code segment will run when the program shows menu selection page. The sprite will hide itself and then call another block “Create_cubes_with_Key” to create clones. The number “020003040” represents costume indexes of the sprite’s 9 clones.
“Create_cubes_with_Key” Block Definition
This code segment will be used in both “when I receive Menu” and “when I receive Play” event procedures. It is renamed from “Cubes (Number, Key)” block of the initial project but removes the input “Number”. Since we could get the length of KeyValue by using “length of KeyValue”, the input “Number” in the initial block is not necessary.
In the updated version, it clears up Cubes list first, and then fills the Cubes list with the input KeyValue. Each number in KeyValue fills an item of Cubes list.
“when I start as a clone” Code Segment
In this code segment, each clone begins to behave. Remember the unique feature of local variable? Since CloneID is a local variable, each clone has a unique CloneID.
The code segment calls “SetCubePosition” block to move the clone to a proper position based on the input value of CloneID, GridSize and Spacing. It also utilizes CloneID to set corresponding color to the cube items.
“SetCubePosition” Block Definition
This code segment is responsible for moving the Land sprite clone to a proper position based on its CloneID, the matrix size and the space between cubes. It is called by “when I start as a clone” event procedure, which I just introduced above.
This block has been redesigned in the remix project by using “mod” block. “mod” will get the remainder of CloneID / Size. The remainder is equal to the column index which the clone is located in. Please note that when (CloneID mod Size) = 0, the Land sprite clone is located in the last column (column 5), instead of column 0. The code has already handled this special condition.
“when I receive Beat Level” and “when I receive Death” Code Segments
These two code segments define the behavior when the Land sprite receives “Beat Level” message or “Death” message. When the user passes one level, the Land sprite receives “Beat Level” message. The program will set “IsPlaying?” to N, and then delete all the clones, which means that all the Land sprite clones disappear from the stage.
Similar rules apply to “Death” message.
“when I receive Play” Code Segment
This code segment is the core segment for Land sprite. It runs when the user glides the Player sprite on one of the colored Land clone at menu selection page and presses Space key.
The first step it does is to call “Create_cubes_with_Key”, but this time, it is a key consisting of 25 numbers. The value of all zero represents a gray cube matrix at the initial stage.
Depending on the chosen level, the program will change key values by different patterns and rules. It could set random key values (using Set_RandomKey), change key value by rows or columns (using “Change_key_by_RC”), change the value at a specific position (using “Change_key_at_index”), or replace a specific key value with another one (by using “switch all”). When the Key value is set, it applies key value to Cubes by calling “ApplyKeyToCube”.
If you would like to remix this project, one aspect to do is to add more steps for each level and use different key change combinations, so the game becomes extendable.
By the way, if you have read my previous post, you could compare the remix project with the initial BeatCube! project. Please note that many block names have been changed. The reason is just what I has explained above, to make the name speak for themselves. Moreover, I remove some unnecessary input parameters. The old and new name matching list is shown below.

The above are the key code segments for Land sprite. In the following section, I will explain those block definitions related to Key and Cubes.
“Set_RandomKey” Code Segment
This block is renamed from previous “RandomKey (Size, Type)”. I renamed it so that people could clearly know it is a setting behavior. It iterates for Key_size times and sets value either to a specified number or 0 for Key variable. For example, Set_RandomKey (25, 3), it will fill 25 items into Key variable, and the value could be 0 or 3 randomly. The Key might be something like “0300003033003330003003030”.
“Change_key_by_RC” Code Segment
The block is renamed from previous “Change(RC) (R/C, Num, Type, Size) block. I redesign the internal structure of the block. Through using “mod”, we could find out the column index represented by each number and then decide whether to change its value or keep the original one.
“switch All” Code Segment
This code segment is also operating on Key variable. It replaces all the number (specified by “Find”) with another number (specified by “Replace”) in Key variable.
“Change_key_at_index” Code Segment
This code segment actually is not used yet in the current project. It sets value (defined by “Color_value”) at specified position (defined by “Key_index”) in Key variable. The original block name is “Add Type (Type, Point, Key)”.
“ApplykeyToCube” Code Segment
All the above 4 block definitions work on Key variable, so how to relate Key variable to Cubes list? This is what this block does. It applies the Key’s value to Cubes list. Each number in Key variable is linked to one item of the Cubes list.
That is all for the Land sprite. There is much less code involved in realizing the same functionalities. However, the original project is an important base for remix. Those methods, such as the layout design of Cubes, the interaction between Key and Cubes list, and change of Key variable by row/column/randomly, form the foundation of this interesting game and they keep unchanged in the remix.
In the next post, I will introduce the updated Player sprite. Stay tuned and don’t forget to enjoy coding and have fun!
Note: All the analysis articles are copyright products of http://www.thecodingfun.com. Anyone re-posting them should credit author and original source. Anyone using them for commercial purposes or translating them into other languages should notify TheCodingFun and get confirmation first. All Rights Reserved.

You must be logged in to post a comment.