
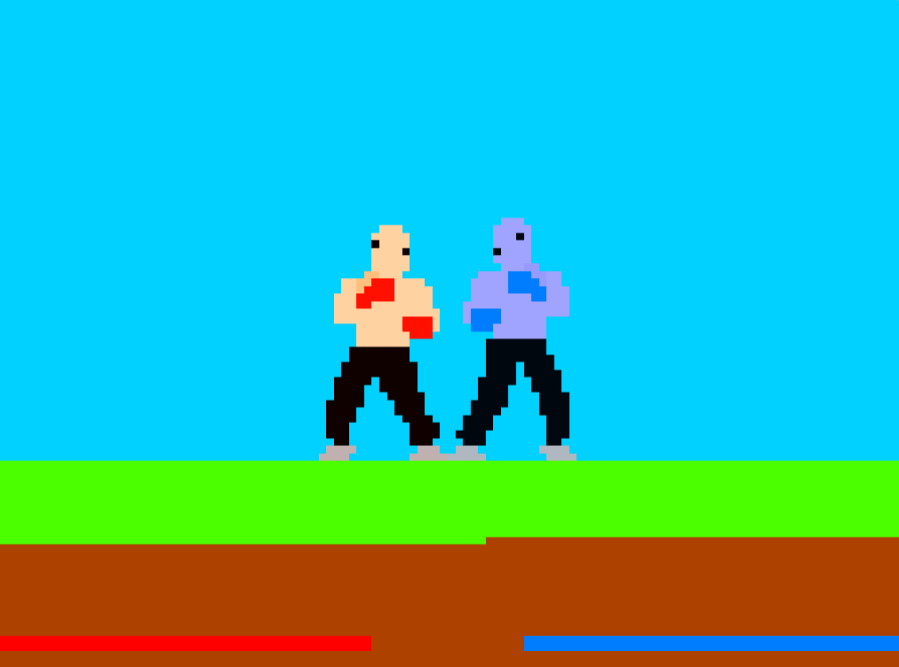
Today, I will analyze another Scratch project. It is a fighting game. Just considering the total sprite amount, this project looks far more from complexity. There are 6 sprites in total, as shown below. The backdrop and decoration is also concise, if not simple. Why I choose to analyze this project is that my kids are really fond of it. After I look inside the project, I realize the algorithm behind it is very interesting and the project is different from others I analyzed before. It needs to take much consideration of the interactions between two players.
I will analyze Player sprite in this post. It is the key character of the game, but it is actually not the core sprite to implement the key functionality, which is implemented by sprite “Logic”. In the next post, I will introduce some other simple sprites such as “health”, “projectiles” and “effects”. After introducing those sprites and then we will move to the key sprite “logic” to see how it calculates the gesture change of two players promptly and realize vivid interaction of the fighters.
Player Sprite
When the player clicks Green Run button, the “Logic” sprite will broadcast “game” message, so all of other sprites will receive this message of “game” and begin to do their responsibilities. Here for “Player” sprite, it first calls “delete this clone” block. Since this block usually is put at the end of a code segment, so the author wraps it in a If segment and then it could call “Clone” block to create two cloned players.
When the player starts as a clone, the code segment sets color of the clone by using the item value from “Player Color” list. Please note that the current game has only set two players, so the third item in “Player Color” list is not used at all.
Please also note that in this segment, cloned player’s position, direction and costume setting are wrapped in a Forever block, which means that those values keep synchronized with item values of Player X, Player Y, Player Direction, Player State and Player Frame lists continuously.
Taking a look at the internal structure of those lists, you will notice that each list consists of two items, representing the value of player 1 and player 2 respectively. For example, item (1) of Player X, Player Y and Player Direction represent the x position, y position and facing direction of player 1. Player State represents the gestures of a player, which will range from 0 – 17, representing idle, walk, crouch, kick, etc.
The concept of player frame is similar to that of the film’s frame. When a player is set to a state, its frame value will be reset and increase with each loop (the loop of increasing the frame value is realized in “Logic” sprite and I will introduce in the later post). Remember that computer is running very fast, so the frame will become bigger soon when the player keeps in one state a bit long, e.g. several seconds. However, once the player changes from one state to another, the frame value will be reset to 0 and increase again.
The existence of frame is supposed to let the player change its costume at a frequency even its state keeps unchanged. It will make the sprite look more lively. So how to change the costumes? It is realized by Costumes block, as shown below.
This is what it looks like in Costumes block. Depending on the current state, the player will switch among different costumes. If you browse the costume list of player, you will understand why the author makes the thing look so complicated. There are totally 56 costumes corresponding to 18 states, so each state averages 3 or 4 costumes. The game will switch costumes continuously to ensure the sprite look life-live.
Take the example of “state = 0”. “s” input parameter represents the current state, and “f” input parameter represents the current frame. When frame is 1-5, the player will choose costume 1, when it is frame 6-11, choose costume 2, then switch to costume 1 when frame is 12-17, and finally switch to costume 3 when frame is between 18 to 23. From frame 24-29, it begins another cycle by starting from costume 1 again.
That is the code analysis for Player sprite. Keep tuned for our future posts. and don’t forget to enjoy the coding and have fun!
Note: All the analysis articles are copyright products of http://www.thecodingfun.com. Anyone re-posting them should credit author and original source. Anyone using them for commercial purposes or translating them into other languages should notify TheCodingFun and get confirmation first. All Rights Reserved.

Pingback: Learning Scratch by Analyzing Others Project – A Fighting Game – Part 2 – Coding Courses Designed for Kids
Hello This website was… how do you say it? Relevant!! Finally I have found something which helped me. grazie
LikeLike
My personal opinion is that you could focus on what you are good at and create original content.
LikeLike
Hey there ,I recently started to writing content, can you give me some advice? gracias
LikeLike