

I know Microsoft MakeCode when my son is doing his Micro:bit schoolwork through MakeCode. At the first glance, I was attracted by this free education resource. It provides the software editors for at least 7 hardware, all focusing on the K12 student. I also assume that more hardware will be added into this list in future.
Looking at each of those hardware, I have to admit that I am only familiar with LEGO MindStorms EV3. As we know, LEGO has provided both classical block language and LEGO EV3 MicroPython (released in April, 2019). In previous post, I mentioned that LEGO MindStorms could be connected to Scratch, but its functionalities as Scratch extension are too limited to use them effectively. Therefore, I am interested in knowing how MakeCode fills the gap and provides a third programming choices for EV3.
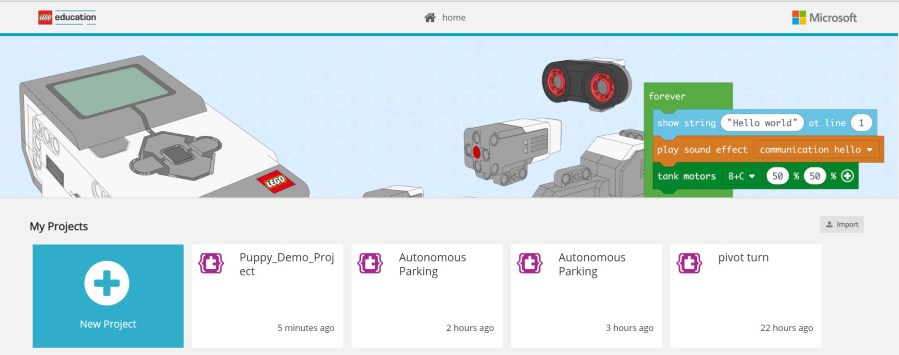
MakeCode – LEGO EV3 Editor
When I click the above “LEGO MindStorms Education EV3” icon, a new web page opens which is specific to LEGO MindStorms EV3, as shown below. You could also open this website directly at: https://makecode.mindstorms.com/

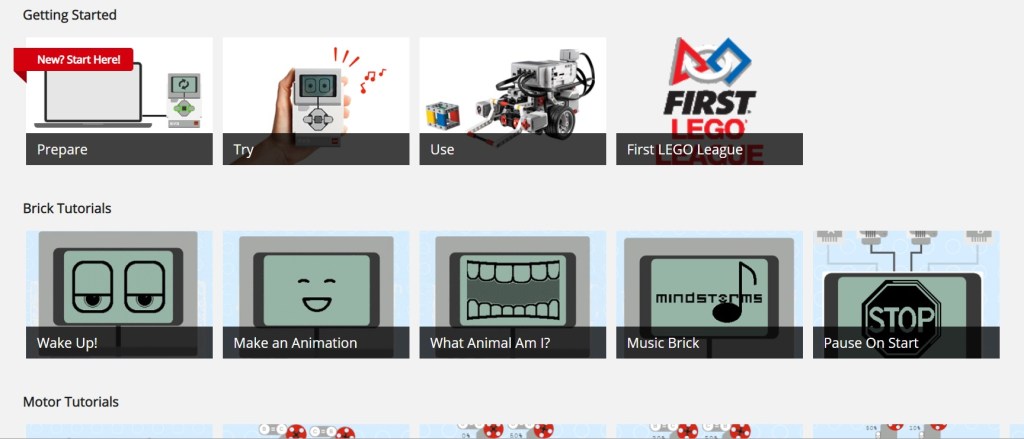
The web site provides some tutorials for beginners. If you are new to LEGO EV3, those tutorials would be very helpful. However, if you have played EV3 and learned its block programming thoroughly, you could just skip those simple examples and start your own new project.
Highlights of the EV3 Editor
Simulator
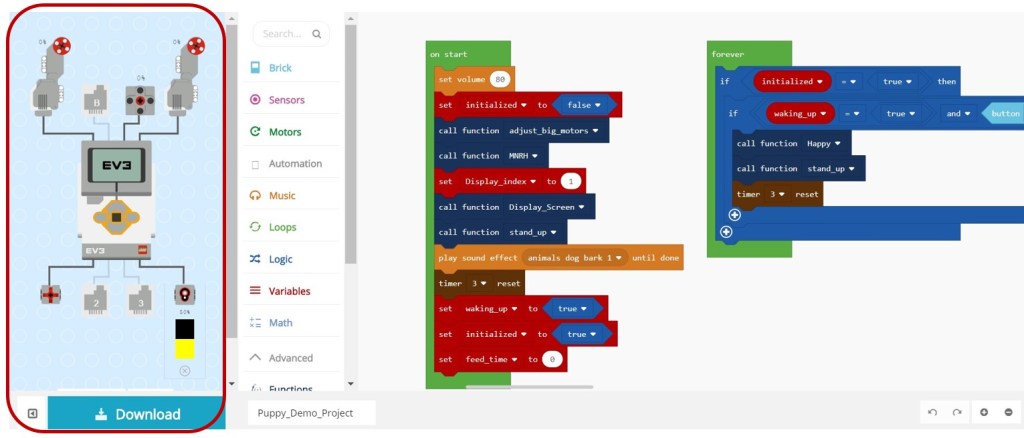
One highlight of MakeCode is definitely the simulator. When you open or create a new project, the simulator of EV3 parts is shown on the left side. It will show smarthub brick, big motors, medium motors as well as sensors, depending on what motors or sensors you write in the code.
Click the “Play” button below the simulator, the program could run without connecting to any EV3 device. It provides a preliminary way to verify your program . However, please note that the running effect might be different from that of real model.
Seamless Conversion from LEGO Programming Software
The following is an overview of a project made by LEGO Programming software. It is an updated version of puppy demo project. As you could see, it is complicated, not only because the code is long, but also because it involves 6 parallel code segments to allow the puppy respond flexibly. I have a post introducing this project if you are interested.

Generally, it has not any difficulty to translate the above program into MakeCode version, as shown below. You might notice that the above LEGO blocks look simpler. The reason is that the defined blocks are shown in separate files in LEGO Programming software, making the main code line look concise and straight-forward.
In MakeCode, the defined blocks (called function in MakeCode) are shown together with the main code line, making the code look messy and complicated.
This is one area I am not satisfied with MakeCode. When the scale of the project increases, the code looks messy and is scattered randomly in the workspace.

Enhanced Functionalities of MakeCode
Support event driven
In the puppy demo project, there are 6 parallel running code. They are connected by lines in LEGO Programming software, but in MakeCode, each line could be wrapped in “forever” block or “on start” block. T
he two types of block are similar, both of which will run the code when the program starts. Through using a conditional judgement, the code wrapped in “forever” block only runs when “initialized” variable is set to True.

Brick and Sensors tab
All the functionalities of bricks and sensors supported by LEGO Programming software have been implemented in MakeCode. There are also some event driven blocks which are new and specific to MakeCode. For example, “on touch … pressed”, or “on color sensor…detected” blocks. Therefore, it is more convenient to program in MakeCode.

Motors Tab
Similar to sensors tab and brick tab, Motors tab offers comprehensive methods. There are some enhanced functionalities such as “ramp” block or “pause until motor stalled” block. I has not analyzed their functionalities in depth, but anyway, just like EV3Dev’s Python version, MakeCode has wrapped some more functions besides those basic ones.

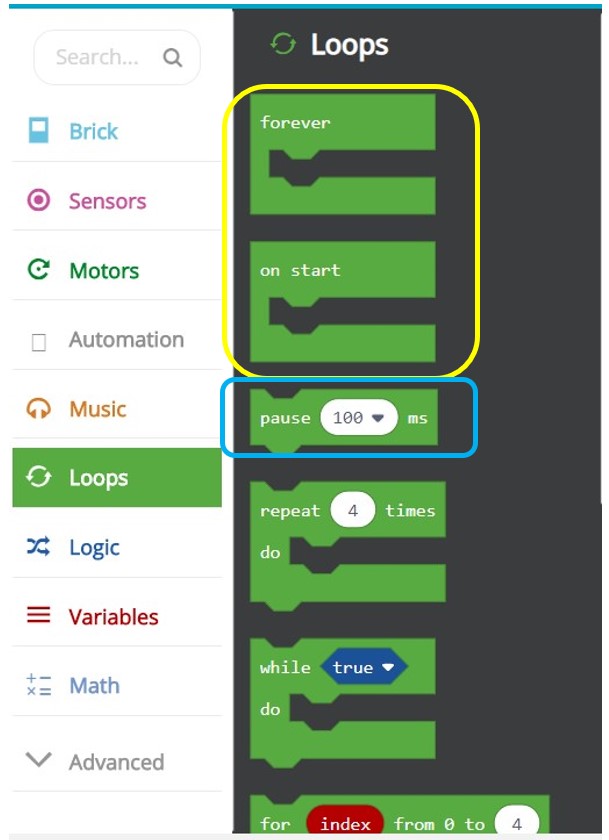
Loops Tab
The loops tab contains both events and normal blocks. Actually, “on start” and “forever” blocks are not loop blocks. They are used to specify the entry point of the program. Meanwhile, “pause” is not a loop block, either. It is a bit confusing to put them all in Loops tab.
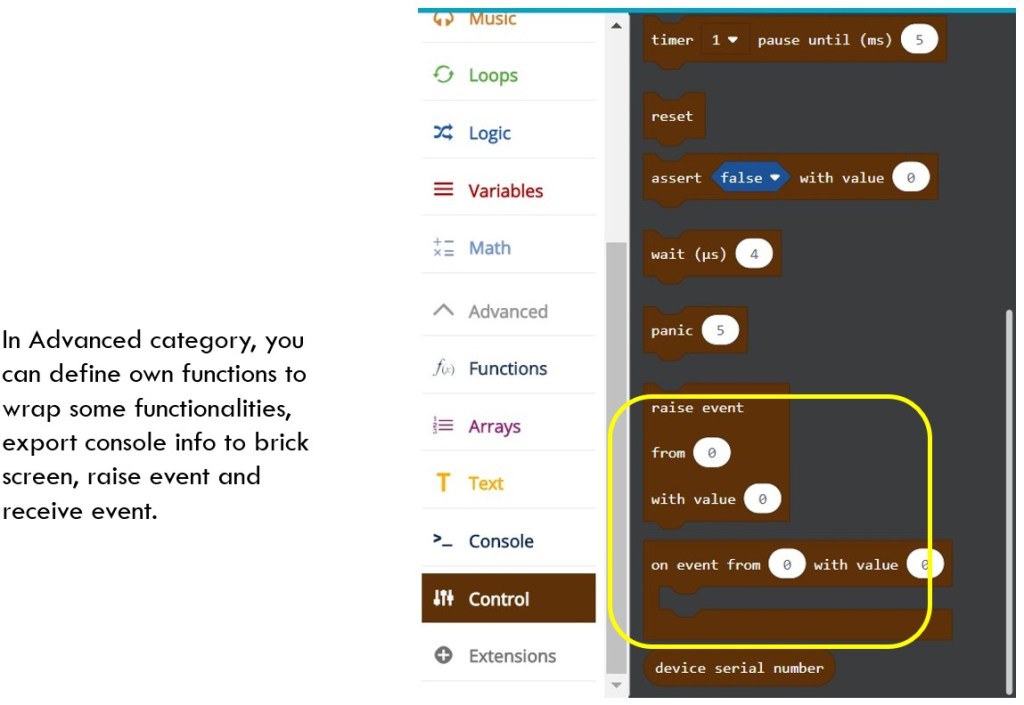
Advanced Tab
The Advanced tab contains several sub_tabs. Functions tab could define and call functions. Arrays tab could define array and do related operation on array. Console tab could write information to console and then transfer the console information to brick screen. It also contains a control tab to raise event and receive event. I did not explore all of those functions, but it is definitely more than enough for EV3 fans to realize what they want the EV3 to do.
Please note that some functions in Advanced tab have not help documents. They might be added recently.
Automation Tab
This tab handles PID algorithm and relevant parameters, which are used to follow line. There is not relevant help documents, yet.

That is the main feature of MakeCode for LEGO MindStorms EV3. Feel excited to try this tool? Wait a minute! Things always have pros and cons. Till now, I have introduced the pros of MakeCode, so the next post, I will switch to its cons. Keep tuned and think about if you could accept its cons before you delve into it.
Anyway, don’t forget to enjoy the coding and have fun!
Note: All the analysis articles are copyright products of http://www.thecodingfun.com. Anyone re-posting them should credit author and original source. Anyone using them for commercial purposes or translating them into other languages should notify TheCodingFun and get confirmation first. All Rights Reserved.

Pingback: Is it a good alternative to use Microsoft MakeCode to program LEGO MindStorms EV3? – Part 2 – Coding Courses Designed for Kids